Introduction
- 08 Apr 2024
- 1 Minute to read
- Print
- DarkLight
- PDF
Introduction
- Updated on 08 Apr 2024
- 1 Minute to read
- Print
- DarkLight
- PDF
Article summary
Did you find this summary helpful?
Thank you for your feedback!
Welcome to Panoply. Here in the documentation you will find all of the information that you need to get set up and connected to your data in minutes without needing to understand code.
Getting Started
Create your account
When you sign up with Panoply, the default data warehouse is built on BigQuery. You may change this to a data warehouse on Redshift. If you are uncertain which is right for you, reach out to your Panoply team.
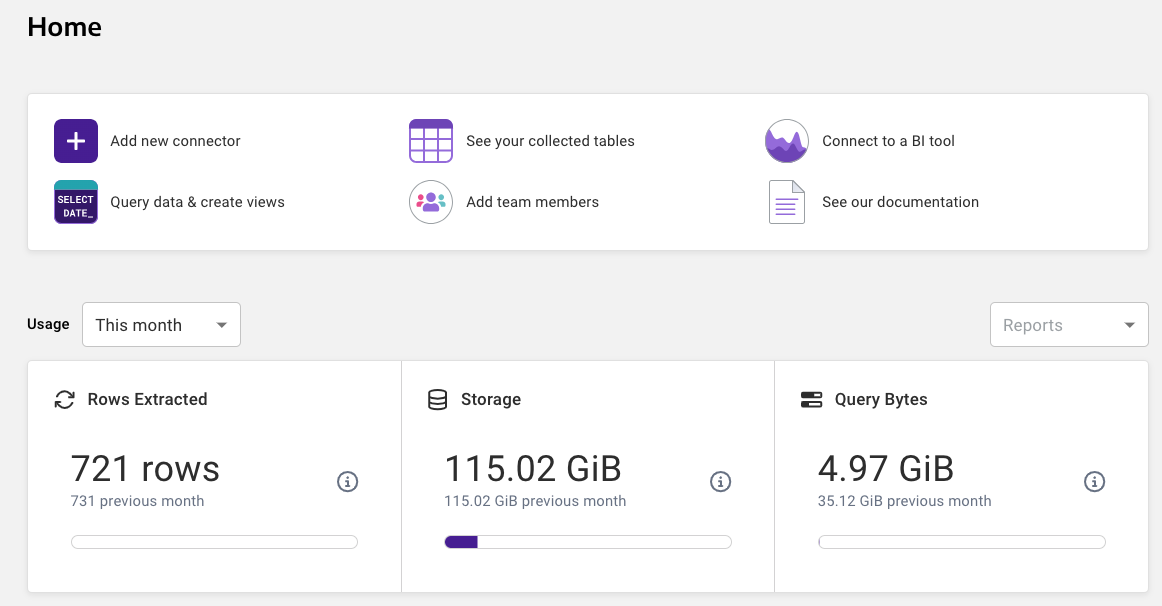
Home Page
From the Home page you can navigate through collecting your data, viewing your tables, and working with your data via SQL or your favorite BI and ETL tools.
Add Data Sources
The first thing you need to do is set up your first data source. This is as simple as:
- Navigating to the Data Sources page.
- Clicking on the Add new Data Source button.
- Choosing your data source.
- Entering your connection details.
- Clicking on the Save and then the Collect Data button
It is really that simple. Of course, there are Advanced Settings that can be changed to control how your data is collected and stored in Panoply. Advanced Settings will vary depending on the data source. For more information, see the Advanced Settings document for your data source.
Choose a data source that you are familiar with to start. If you have any questions while connecting Panoply to your data source, click the chat icon in the lower right hand corner and chat with a Panoply Data Architect. For more instructions for this step, refer to our data source documentation.
Was this article helpful?
.png)